BJJ 201 Standard Ashi Module
Here you will find all our lessons on the basic Ashi Garami.
Sorry, you don’t have access to this protected content.
Please purchase the appropriate membership to receive access.
View our pricing page for more information about our different packages or return to the homepage.
BJJ 201 SA 1: Control Scheme
BJJ 201 SA 1: Control Scheme
BJJ 201 SA 2: Technical Standup
BJJ 201 SA 2: Technical Standup
BJJ 201 SA 3: Switching Legs
BJJ 201 SA 3: Switching Legs
BJJ 201 SA 4: Controlling Both Legs
BJJ 201 SA 4: Controlling Both Legs
BJJ 201 SA 5: Strong vs Weak Side
BJJ 201 SA 5: Strong vs Weak Side
BJJ 201 SA 6: Straight Ankle Lock
BJJ 201 SA 6: Straight Ankle Lock
BJJ 201 SA 7: Outside Heel Hook
BJJ 201 SA 7: Outside Heel Hook
BJJ 201 SA 8: Toe Hold
BJJ 201 SA 8: Toe Hold
BJJ 201 SA 9: Rolling to Reap/Inside Ashi
BJJ 201 SA 9: Rolling to Reap/Inside Ashi
BJJ 201 SA 10: Transition to 411 off Knee Extraction
BJJ 201 SA 10: Transition to 411 off Knee Extraction
BJJ 201 SA 11: Chasing the Back
BJJ 201 SA 11: Chasing the Back
BJJ 201 SA 12: Sweeping off the Knee Extraction
BJJ 201 SA 12: Sweeping off the Knee Extraction
BJJ 201 SA 13: Ashi vs Standing Opponent
BJJ 201 SA 13: Ashi vs Standing Opponent
BJJ 201 SA 14 : Top Entry 1- Vs Open Guard
BJJ 201 SA 14 : Top Entry 1- Vs Open Guard
BJJ 201 SA 15: Top Entry 2- Vs Knee Shield
BJJ 201 SA 15: Top Entry 2- Vs Knee Shield
BJJ 201 SA 16: Bottom Entry 1- Butterfly Guard
BJJ 201 SA 16: Bottom Entry 1- Butterfly Guard
BJJ 201 SA 17: Bottom Entry 2 Half Butterfly
BJJ 201 SA 17: Bottom Entry 2 Half Butterfly
BJJ 201 SA 18: Bottom Entry 3 Half Guard Shell
BJJ 201 SA 18: Bottom Entry 3 Half Guard Shell
BJJ 201 SA 19: Bottom Entry 4 DLR
BJJ 201 SA 19: Bottom Entry 4 DLR
BJJ 201 SA 20: Bottom Entry 5 Mantis 1
BJJ 201 SA 20: Bottom Entry 5 Mantis 1
BJJ 201 SA 21: Bottom Entry 6 Mantis 2
BJJ 201 SA 21: Bottom Entry 6 Mantis 2
BJJ 201 SA 22: Other Entries on the Site
BJJ 201 SA 22: Other Entries on the Site
BJJ 201 SA 23: Troubleshooting 1 Buttery Ankle Lock
BJJ 201 SA 23: Troubleshooting 1 Buttery Ankle Lock
SA 24: Troubleshooting 2 Moving to Outside Ashi
SA 24: Troubleshooting 2 Moving to Outside Ashi
Ready to Accelerate your Brazilian Jiu Jitsu Game?
Join hundreds of other BJJ athletes in our online academy led by BJJ Black Belt,
Rob Biernacki.
Access Rob’s constantly evolving concepts from beginner to
advanced, personalized Q&A, and much
more.
Cancel Anytime
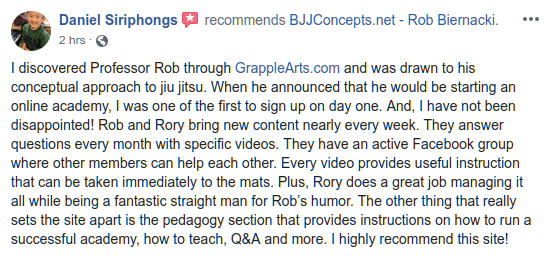
See what others have to say.